Embed Code
Introduction
Generating an HTML embed code lets you display the first survey question directly inside your email template, making it easy for recipients to respond with just one click. This approach can help increase response rates by reducing friction for your users.
To create the embed code, open your survey in the editor and navigate to the “Embed Code” tab. From there, you can customize the settings, preview how the survey will appear in your email, and copy the code once you’re ready to add it to your email template.
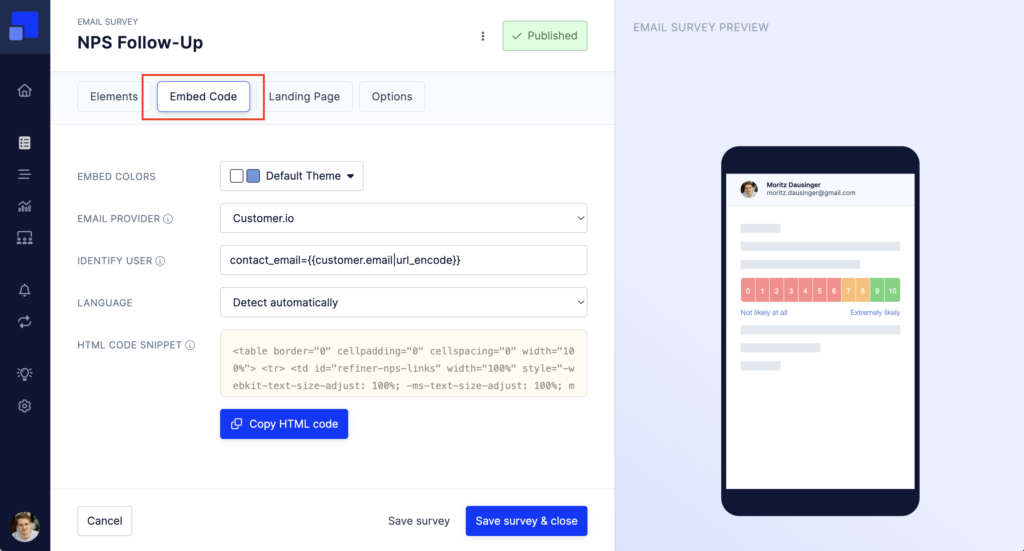
When you change any settings, the embed code updates automatically. Once you’re happy with the configuration, simply copy and paste the code into your email template. The exact steps for adding HTML will depend on your Email Service Provider (ESP).
The HTML embed displays your first survey question when using the NPS, CSAT, Ratings, or Multiple-Choice question types. For all other question types (e.g., Open Text), it shows a simple “Take Survey” button instead.
Question headlines and descriptions are not included in the embed code, allowing you to recreate them directly within your email tool. This ensures that font styles and layout remain consistent with your email templates.
The generated code is plain HTML, so you can easily customize it as needed. If you’d like to go further, check out our guide on advanced embed customization..
Set color theme
You can choose the color scheme of your embedded survey. When changing colors, you’ll see an updated survey preview on the right side of the screen.
Please note that the color selection only applies to the embed code you are using in your email. You also might want to adjust the colors of the survey page in the “Landing Page” tab.
NPS and CSAT questions allow you to use a multicolor scale. If this option is enabled, the colors of the multicolor scale are used when generating the embed code.
Choose Email Service Provider
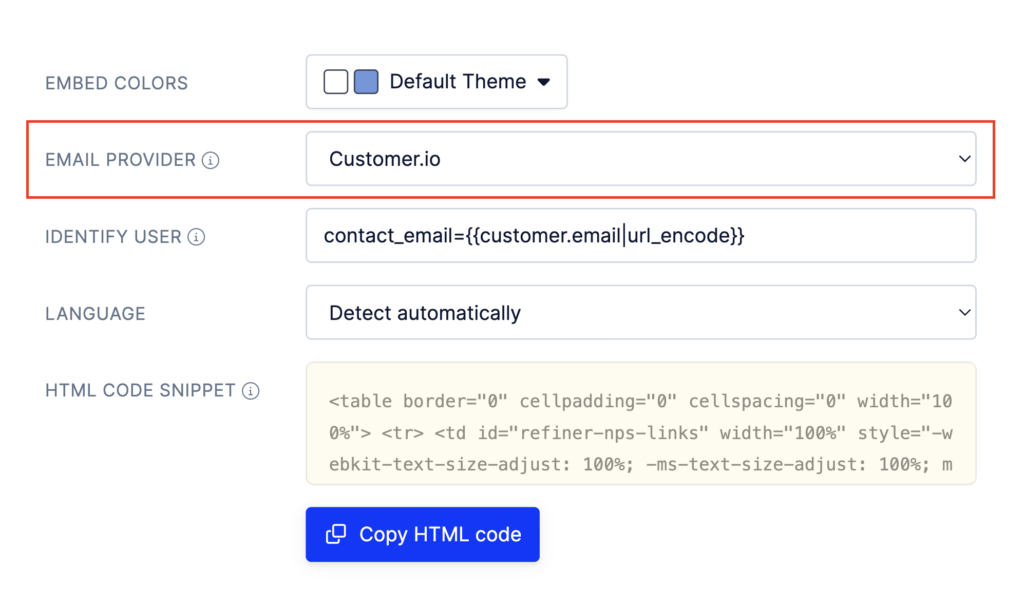
As a next step, choose your Email Service Provider (ESP) from the list of supported providers.
Choosing an ESP will populate the “Identify User” field with matching user identification tags. These tags are then added to the HTML Embed Code to make sure that survey respondents are identified with their email address.
You can replace the suggested code with provider specific tags, for example if you want to use a different identifier or add additional data (see below).
If your email sending solution is not listed, don’t worry. You can still select “Other” and use our Email Surveys as described here.
Set language
If you are using our multilingual surveys feature, you’ll see the option to choose the language for the embed code. Choosing a language will translate labels and also determine the language used on the survey landing page.
Import additional user data
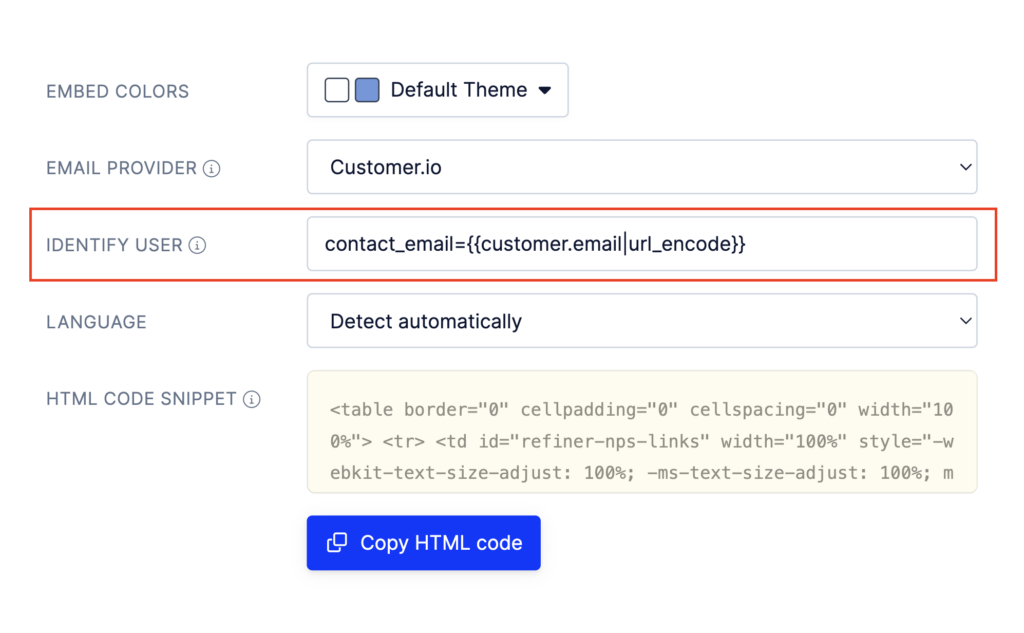
The “Identify User” field allows you to import any kind of user data from your email tool to Refiner. When you select an Email Service Provider, the field already contains a code suggestion to identify survey respondents with their email address. You can further customize the code suggestion to import more data from your email tool to Refiner.
Add user traits
Depending on the capabilities of your email service provider, you might be able to access additional user traits (e.g. company name, subscription plan, …) that you want to import to Refiner. You can use the “Identify User” field (see above) to move data from your email service provider to Refiner.
What data you can import to Refiner depends on your email provider. Usually you’ll have access to data like the recipient name, their email address and custom fields that you created. You can check their documentation to figure out which data fields are available.
You can add additional parameters to the “Identify User”, separated with a “&” symbol. The syntax for Refiner is “&contact_<any field name>”. The syntax for the source data is depending on the email service provider you chose.
Here is an example how this could look like:
contact_email={{contact.email}}&contact_name={{contact.name}}&contact_company={{contact.company}}
You can also attach hidden data fields to the survey response. You can either import dynamic data provided by your email service provider, or static text data.
As with user traits, you can data to your responses by simply adding more fields to the “Identify User”, separated with a “&”. However, instead of using “contact_” as a field prefix, you can use “response_” as a field prefix.
Here is an example how this could look like:
contact_email={{contact.email}}&response_campaign={{campaign.id}}&response_touchpoint=post_checkout
Next to adding user traits and hidden response data, you can also add response tags using the “Identify User” field. The syntax for adding a tag is “&tags=Tag1,Tag2,…”.
Here is an example how this could look like:
contact_email={{contact.email}}&tags=Tag1,Tag2
Identify respondents with their ID
By default, the HTML embed code uses the email address of a recipient as an contact identifier. Email addresses are usually unique to a single user and are a reliable way to identify respondents of a survey.
If your email sending solution provides access to the User ID of a recipient, you can also choose to use the User ID as an identifier.
Identifying respondents with their User ID instead of their email address is useful when you run Email Survey and In-app Survey (web or mobile) campaigns in parallel in the same environment. By using the same identifier for Email Surveys and In-App Surveys, you’ll get a complete record of the survey activity of each user.
Furthermore, some of our data integrations (e.g. our Segment integration) only work when you provide a User ID.
To identify respondents with their User ID instead of their email address, you need to use “contact_id” instead of “contact_email” in the identifier field. An example is shown below. The syntax of the second part in the example depends on your email sending solution.
contact_id={{contact.user_id}}
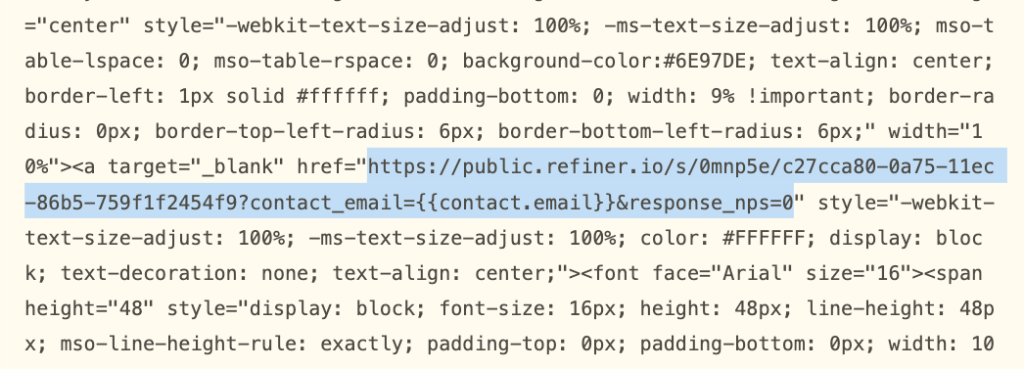
Customize HTML Embed Code
code is nothing else than a bunch of links pointing to a hosted survey page, wrapped into some nice looking HTML.
You can fully customize and tweak the HTML to your likings. As long at the URLs pointing to the survey page stay intact, the survey will continue to work.
Next to customizing the visual aspect of your email survey, you can also customize the URLs pointing to your survey page. You can add additional user traits or contextual data (e.g. the campaign name). For a detailed description on how to identify your users with URL parameters, click here.