
Email Notification
Introduction
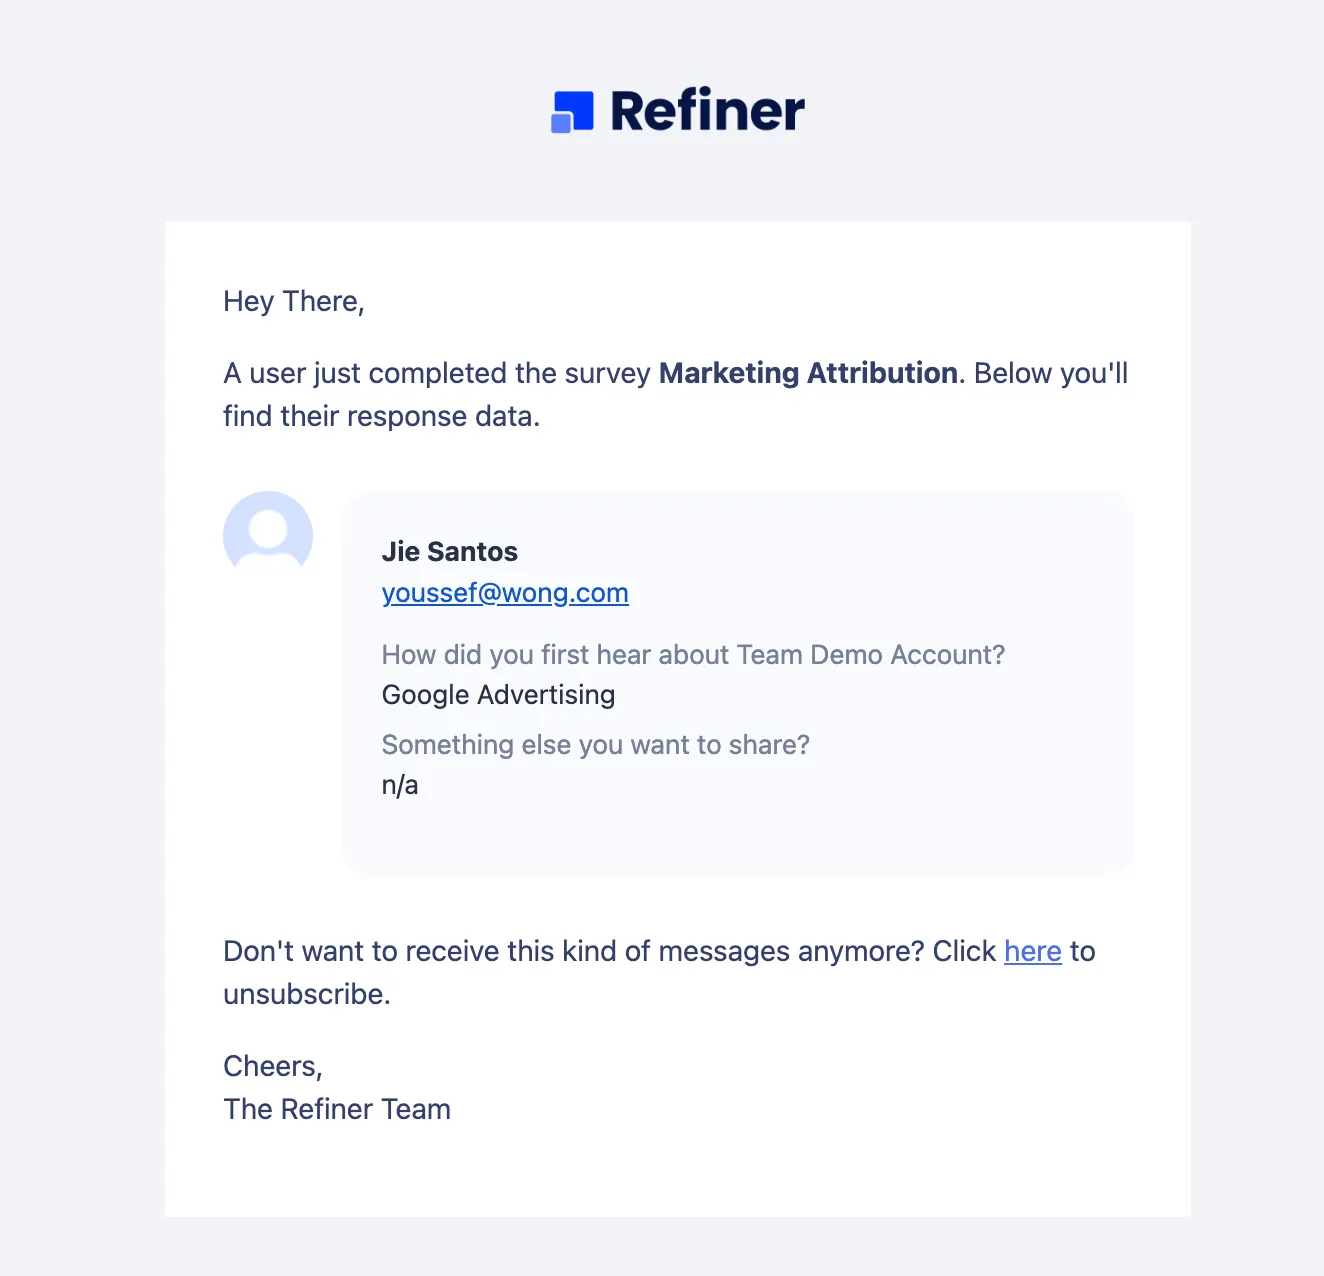
Section titled “Introduction”Email Notifications make it easy to keep your team in the loop and act on survey responses in a timely manner.
You can receive email notifications whenever new survey data becomes available, or when a user enters a specific segment in Refiner.
Create notification trigger
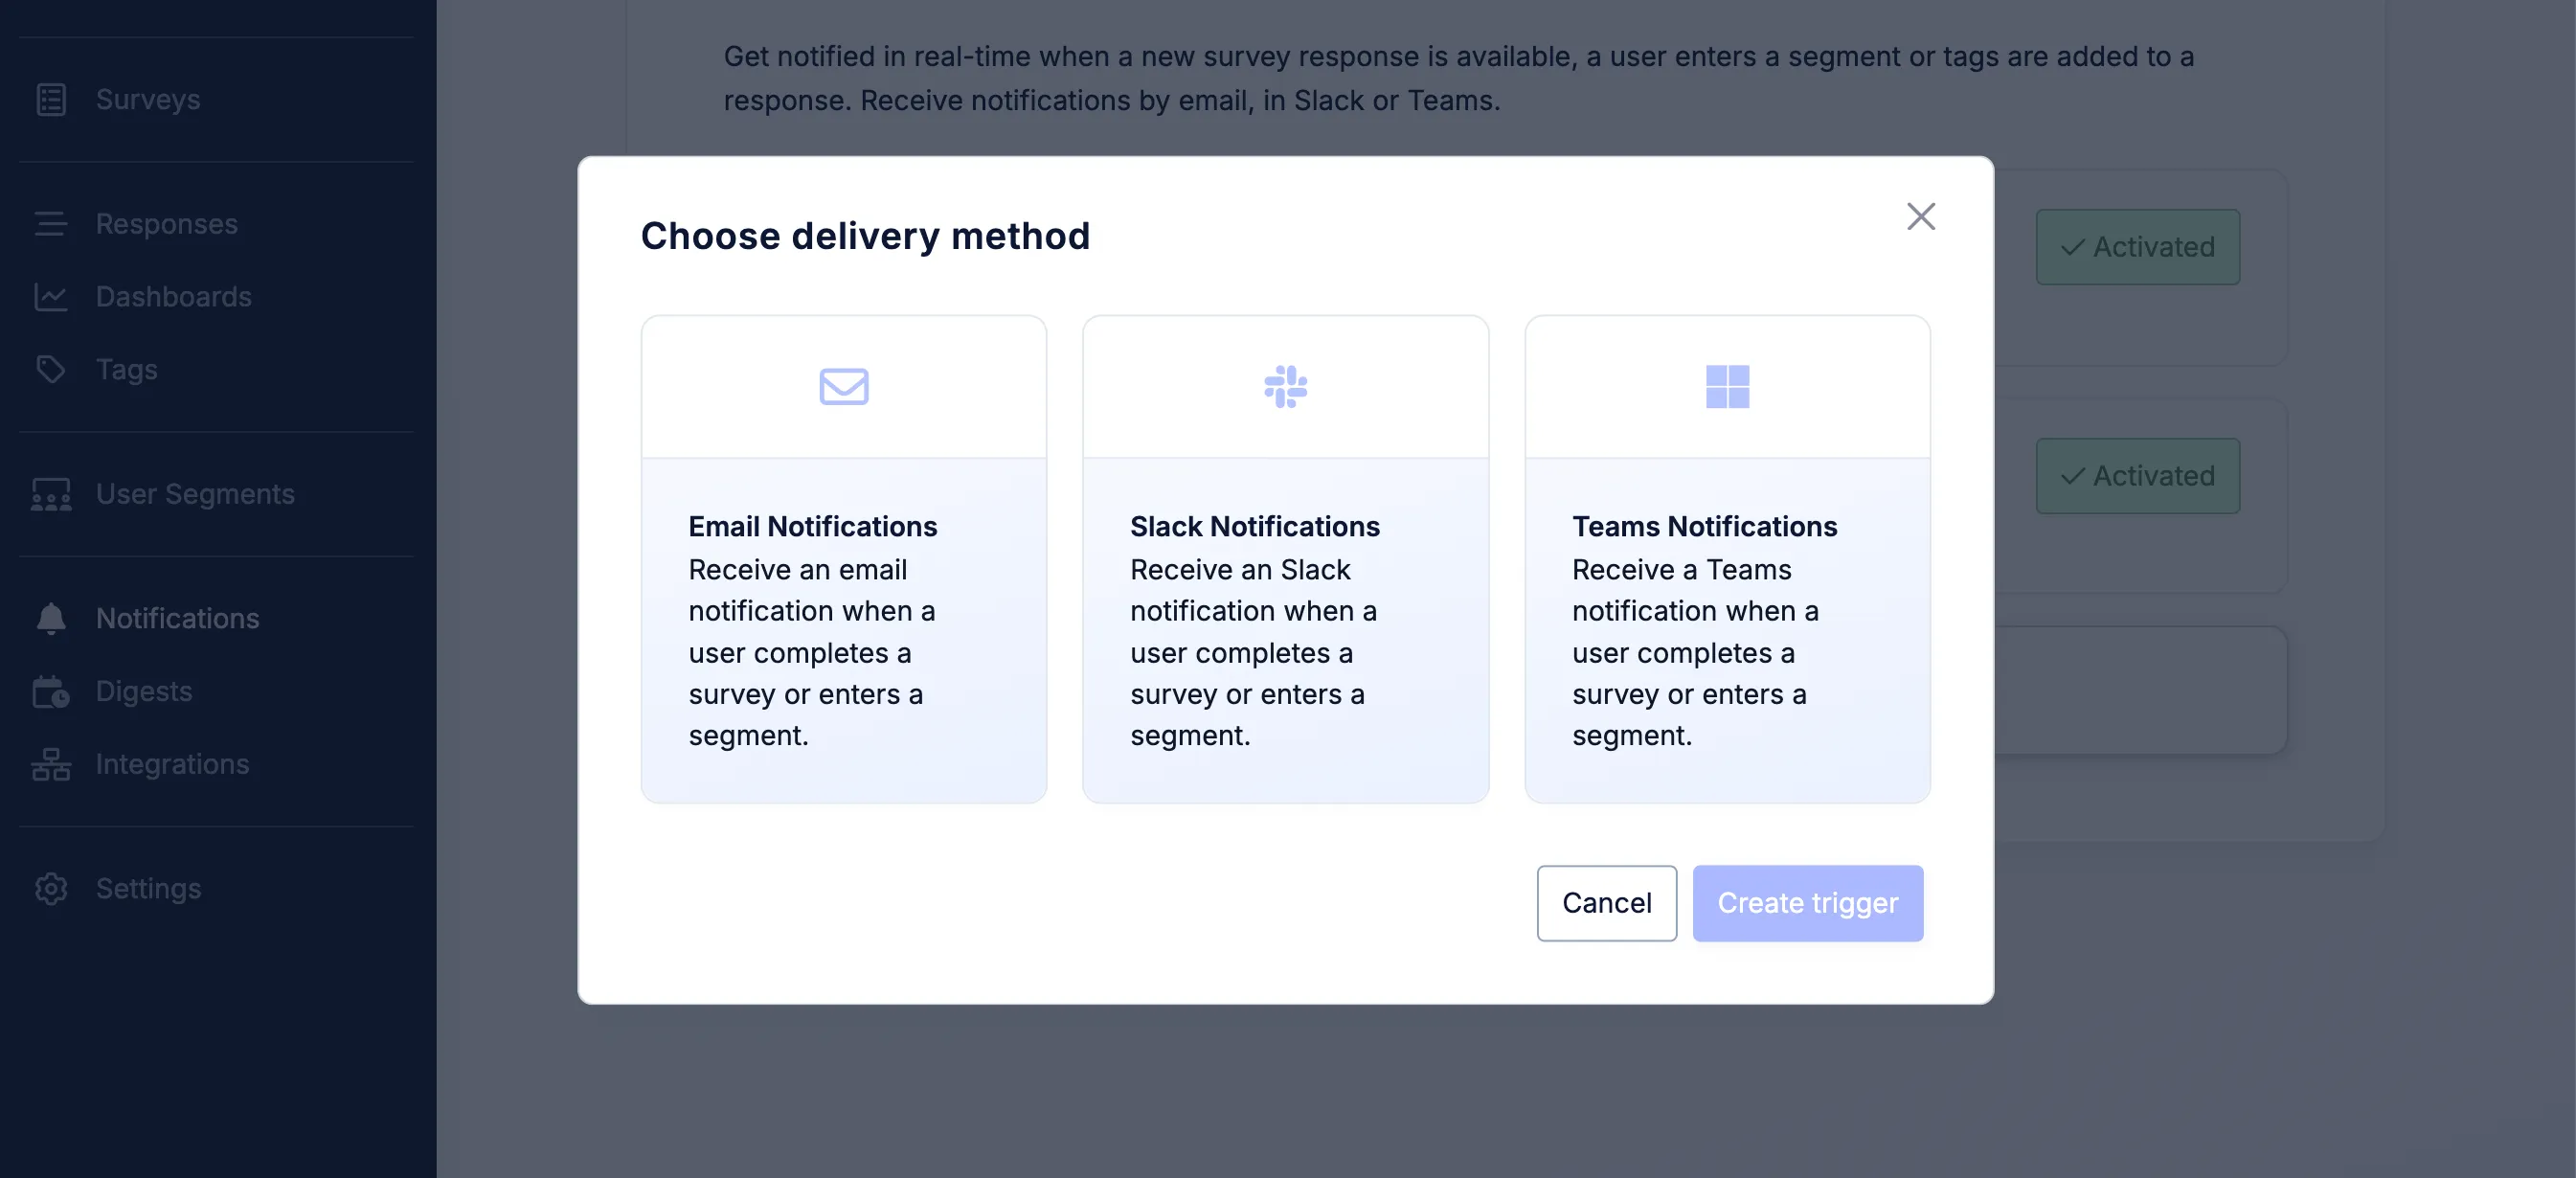
Section titled “Create notification trigger”To set up email notifications, navigate to Notifications in your Refiner dashboard.
Click Create trigger, select Email Message, and then click Create trigger again.
On the next page, you’ll see a form with the settings for your new trigger. Since you can create multiple Email Notification triggers, we recommend giving each trigger a distinct name, for example New Promoters.
Choose a trigger event
Section titled “Choose a trigger event”The Trigger Event section lets you define when you want to receive a notification.
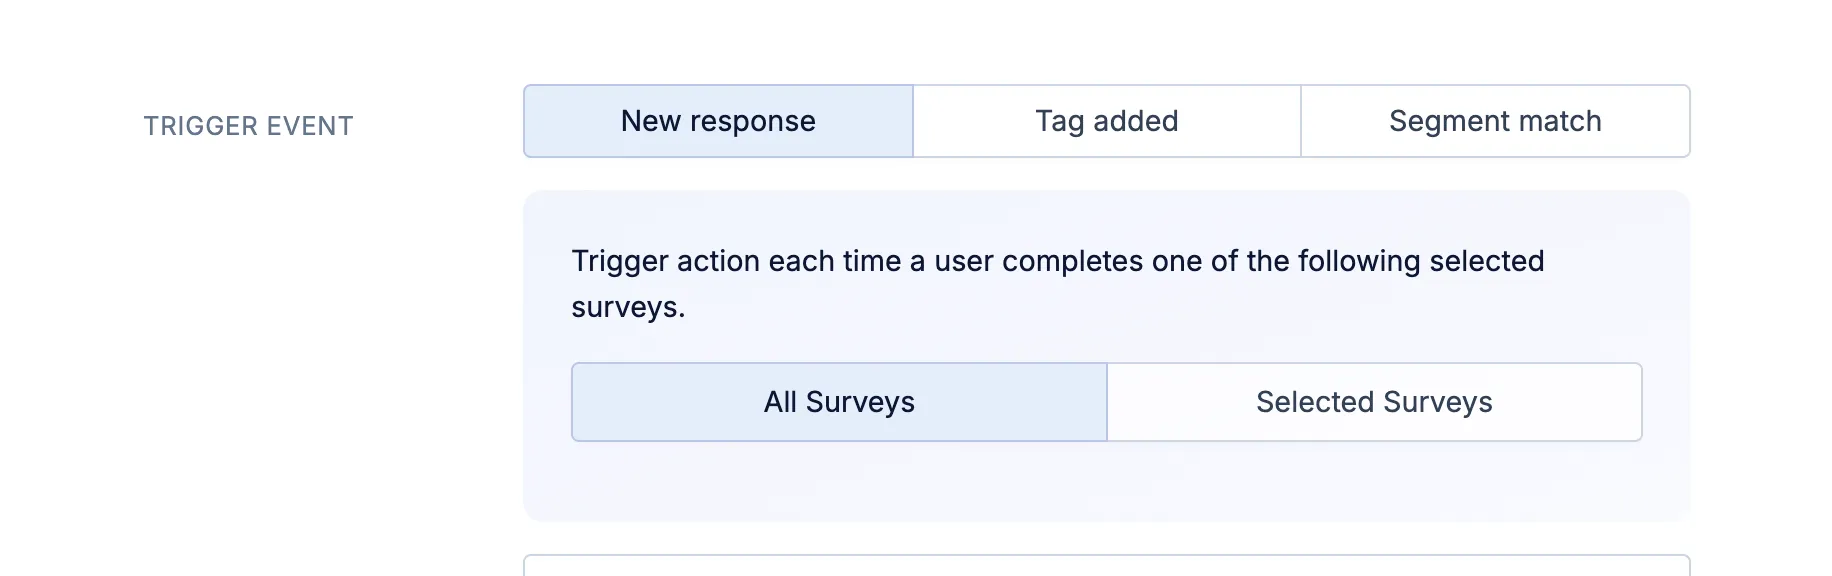
You can choose between the following trigger events:
- New response
- Segment match
- Tag added
The New response trigger event also includes partial responses. These notifications are sent with a short delay, based on your partial response settings.
Customize the email subject
Section titled “Customize the email subject”Depending on the selected Trigger Event, emails will use one of the following default subject lines:
New survey submission: {{ survey.name }}User entered segment: {{ segment.name }}A response was tagged: {{ tag.name }}You can customize the subject line using Liquid Tags. In addition to contact, survey, segment, and tag information, you can also use survey response data, such as {{ response.nps }}.

Add conditions
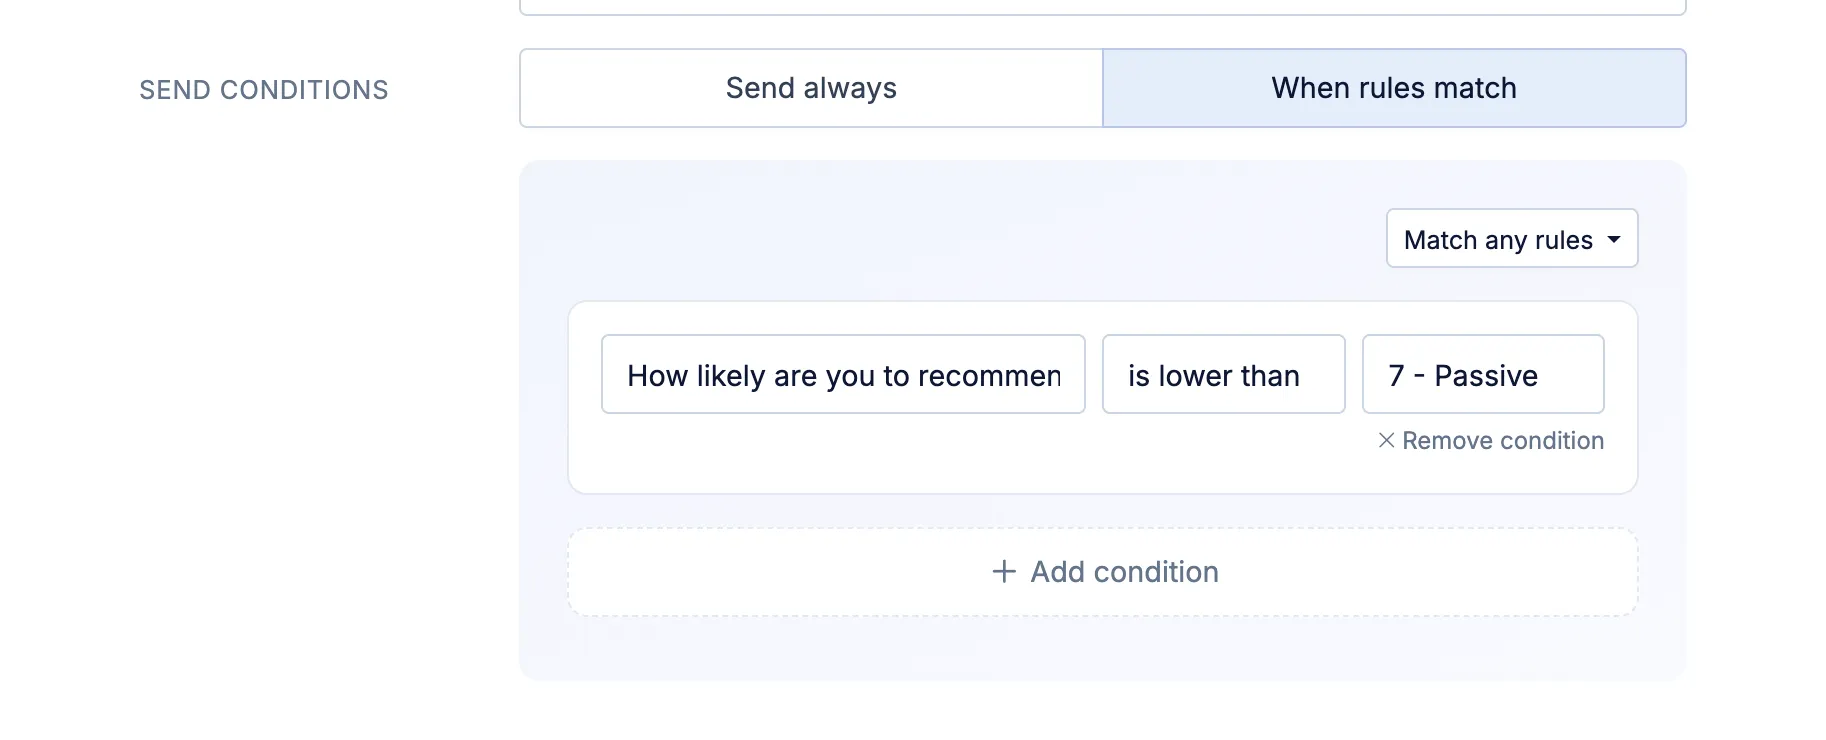
Section titled “Add conditions”You can define conditions that need to be met before a notification is sent.
Send Conditions help you make sure that your team only receives notifications for the responses that matter most.
For example, you can choose to trigger a notification only when a respondent gives a specific answer, when an NPS score is below a certain value, or when a contact matches specific user traits.
Choose data fields
Section titled “Choose data fields”By default, all response data is included in notifications.
You can also choose to include only selected data fields. When selecting specific data fields, you can also include additional user traits in the notification.
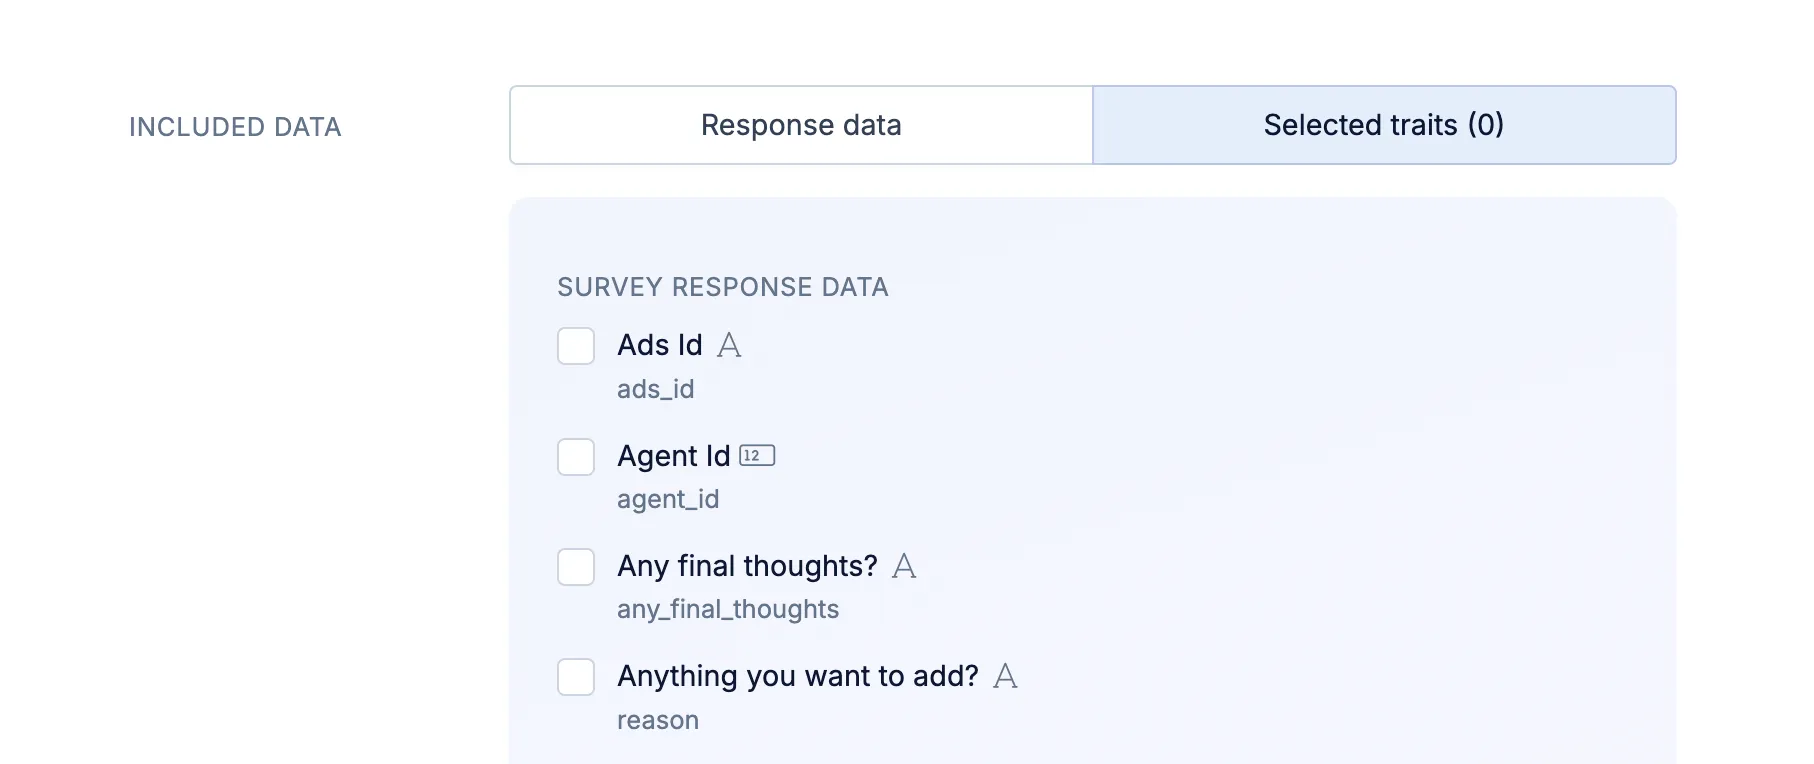
Please note: The data labels shown in your email correspond to the Trait names found in the Data Index.
Select recipients
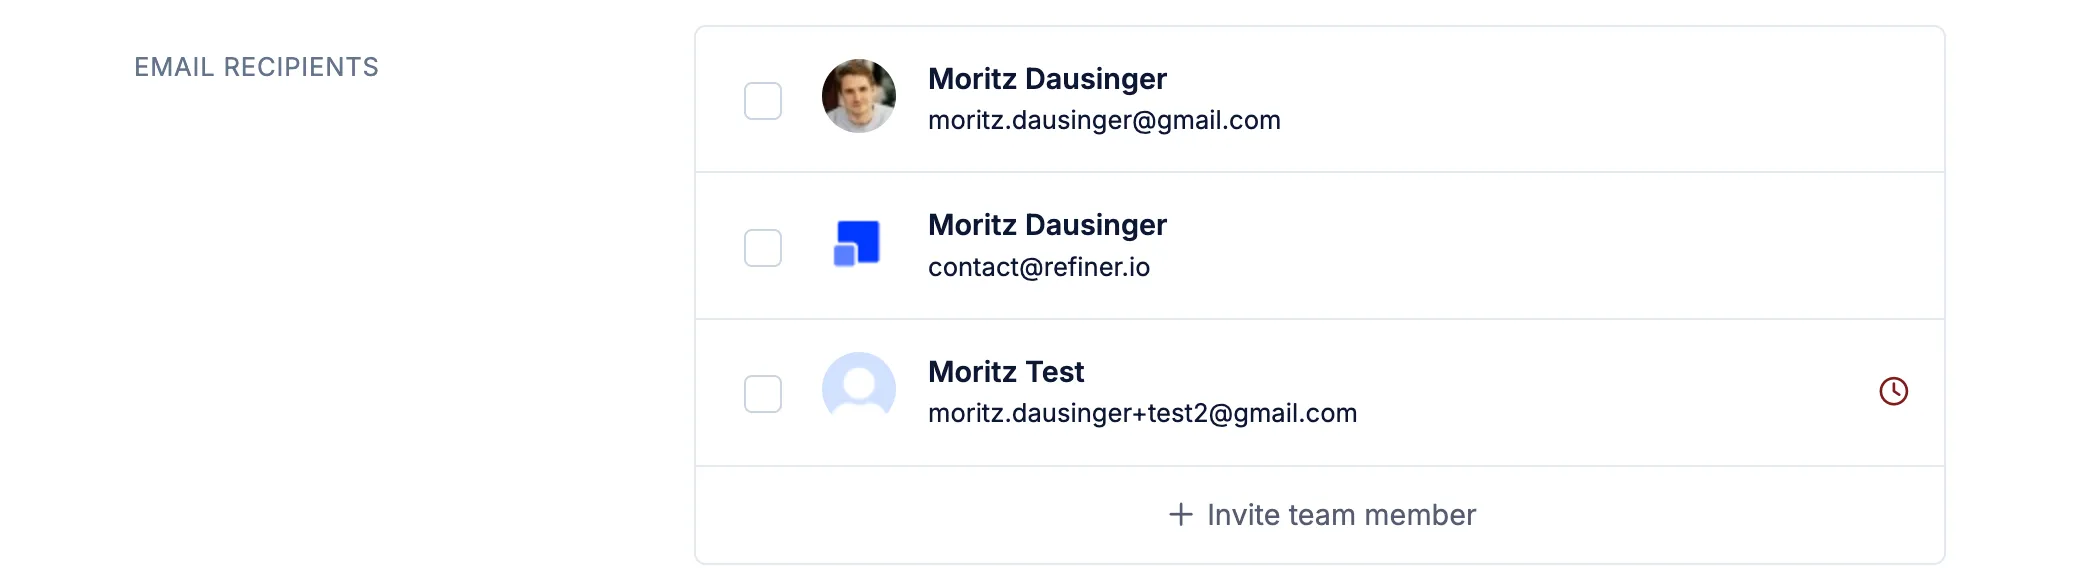
Section titled “Select recipients”Finally, choose which team members should receive the email notification.
A notification can be sent to one or multiple members of your team. You can also invite generic email addresses, such as sales@company.com, as team members and select them as recipients.
Send test notification
Section titled “Send test notification”Before saving your trigger configuration, you can click Send test. Then, check your inbox to confirm that you received the notification.