HubSpot Integration
Introduction
The Refiner HubSpot integration lets you achieve two powerful goals:
- Send Refiner surveys through HubSpot
- Sync survey response data back to your HubSpot account
You can use both options independently. On this page, we’ll cover each option in detail and show you how to set everything up.
Send email surveys with HubSpot
How it works
If you are a customer of HubSpot, you are likely already sending most of your email communication using their services (Newsletters, Drip campaigns, 1-1 sales emails, …).
Using our HubSpot integration, it’s easy to also send Refiner email surveys with your HubSpot account.
When creating an email survey in Refiner, you can generate an HTML Embed Code. This code can then be embedded in a HubSpot email campaign.
In other words: Refiner does not send emails on your behalf. Instead, you’ll deliver them with the same emailing tool you are already using.
The advantages are numerous:
- You can use your existing HubSpot email templates
- The first question is embedded directly in your emails as shown below
- All emails are sent from one tool, making it easy to keep an eye on what emails a contact received
- You can use HubSpot trigger logic to define when exactly a survey is sent
- Survey respondents are automatically identified in Refiner with their email address
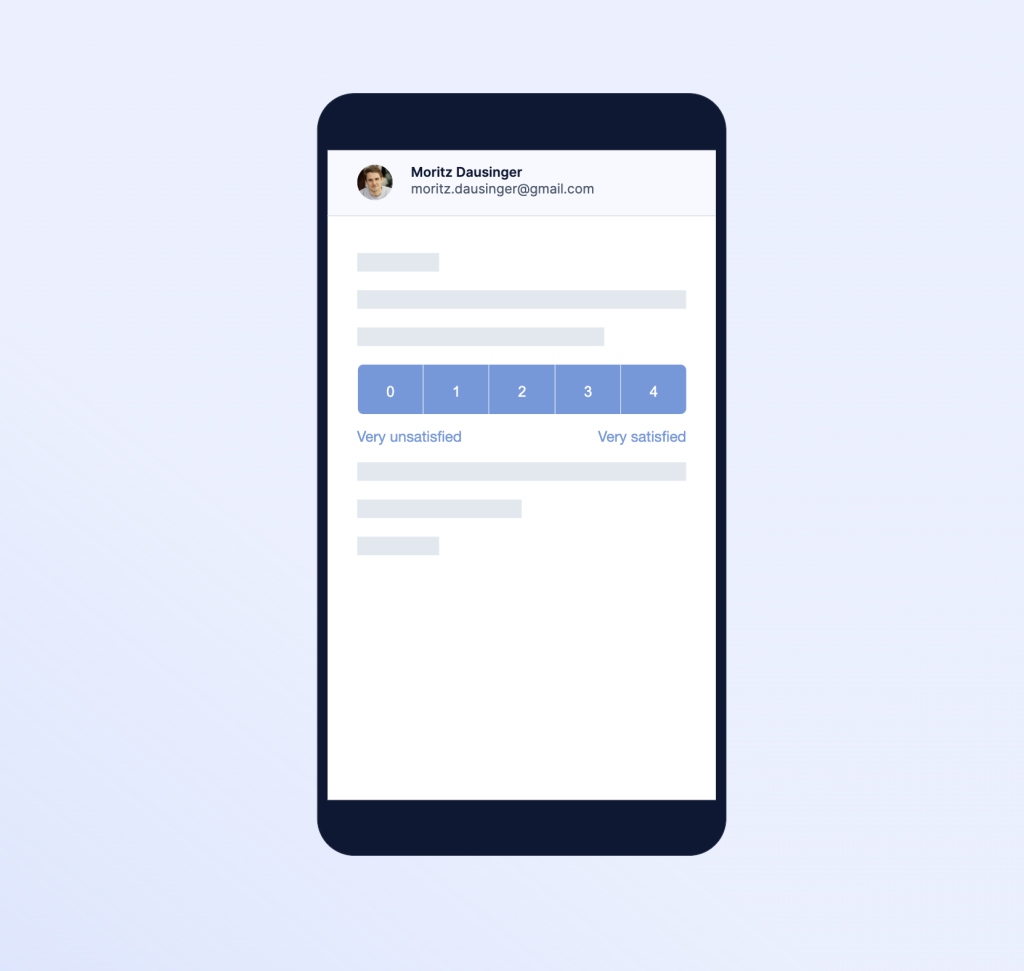
As mentioned above, the first question of the survey will appear right inside the email as shown in the screenshot. All follow-up question are answered on a hosted survey landing page.
Refiner collects data right from the first click of the user which will ensure high response rates.
Generate a Survey Embed Code for HubSpot
When building your survey with Refiner, navigate to the “Embed Code” tab and choose HubSpot from the list of supported providers.
Selecting HubSpot as the service provider automatically adds personalization tags to the code snippet. The purpose of the personalization tags are to automatically identify survey respondents by their email address.
HubSpot automatically replaces the identifier tags in the code snippet with real contact data when sending a campaign. When sending a test email, HubSpot won’t fill the replacement tags.
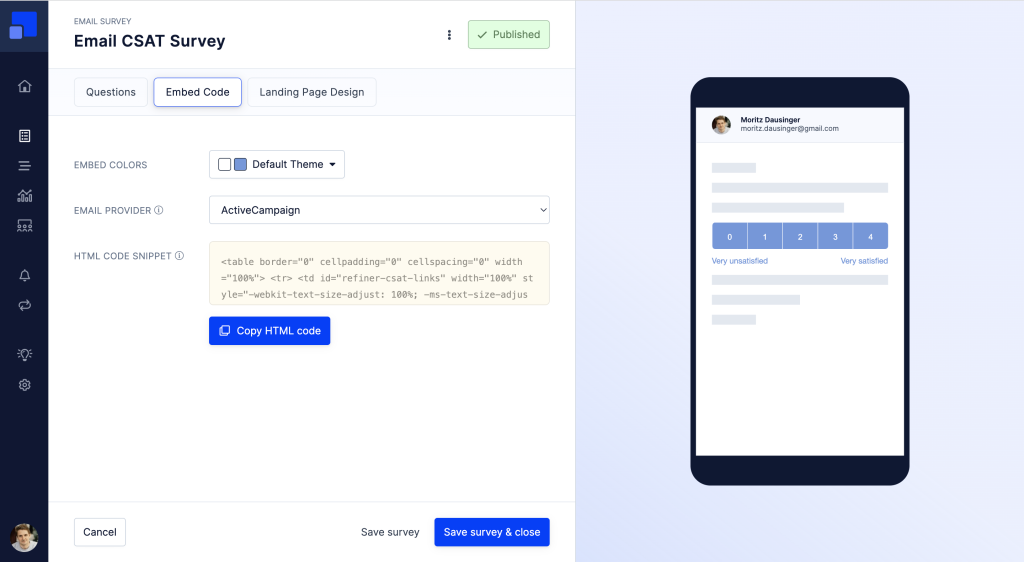
You can choose to customize the colors of your survey so that it fits nicely with your email template in HubSpot.
On the right side of the screen you’ll find a quick preview of your survey.
Finally, click on “Copy HTML code” to copy the embed code into your clipbloard.
Embed HTML code in HubSpot campaign
You can add the survey embed code to your HubSpot email by using the “HTML – Email” block.
In the email editor, select “More” in the left sidebar.
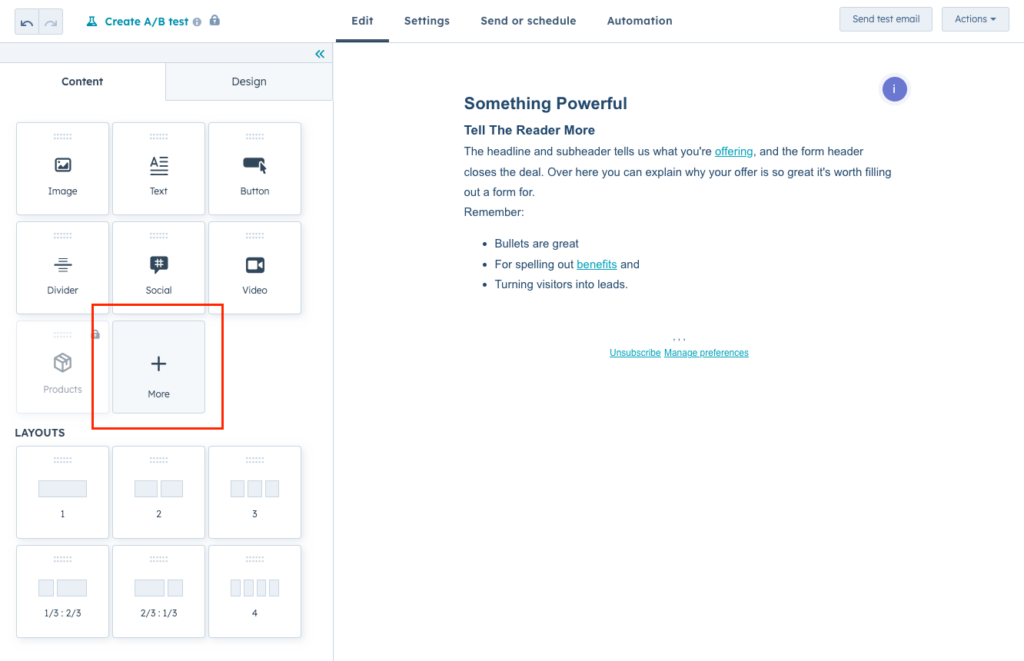
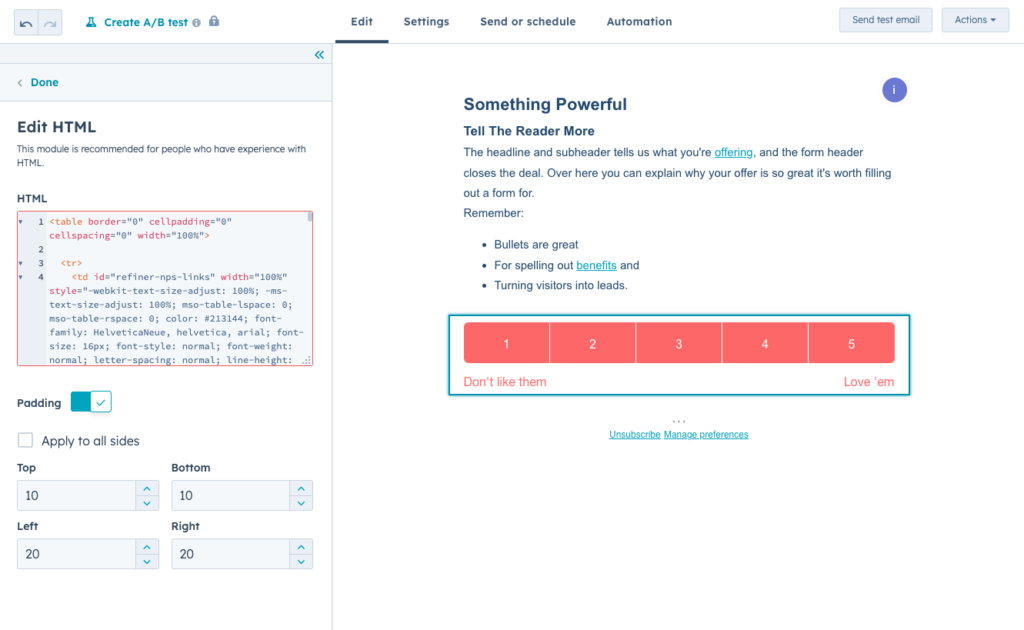
Then, click on “HTML – Email” and drag it into your email template on the right side of the screen. Once the element is in your email, you can paste the embed code provided by Refiner in the “HTML” field. You should see the survey in the preview on the right side.
As an alternative to the method described above, you can also add the survey embed code to a custom coded template. By doing so you’ll be able to re-use the same survey embed code in different email campaigns.
Send a test campaign
Hubspot has a “Send preview” function which you might have already used in the past to test your emails. Unfortunately, Hubspot doesn’t include any dynamic user data during the rendering of preview emails.
You can still use the “Send preview” function to test how your emails look like, but you won’t see any user identifiers in Refiner after filling out the survey.
We recommend to send a real test campaign to a small batch of contacts when testing Refiner surveys in Hubspot. By doing so, contacts who receive a test email are correctly identified when replying to the survey.
Sync survey responses to Hubspot
Our HubSpot integration also makes it easy to update contact properties in Hubspot with survey data from Refiner.
The data integration perfectly complements the email survey option described above. The two together allow you to send surveys with HubSpot, capture responses with our survey pages, and then sync survey responses back to HubSpot.
Prerequisites
The HubSpot data integration works independently from our HubSpot Email Surveys feature. You can sync response data from email surveys, as well as response data coming from in-product survey widgets to your HubSpot account.
The data integration uses email addresses as the primary identifier. To make the integration work, please make sure that users in your Refiner account are identified when responding to a survey and that we have an email address on record.
Create a new connection
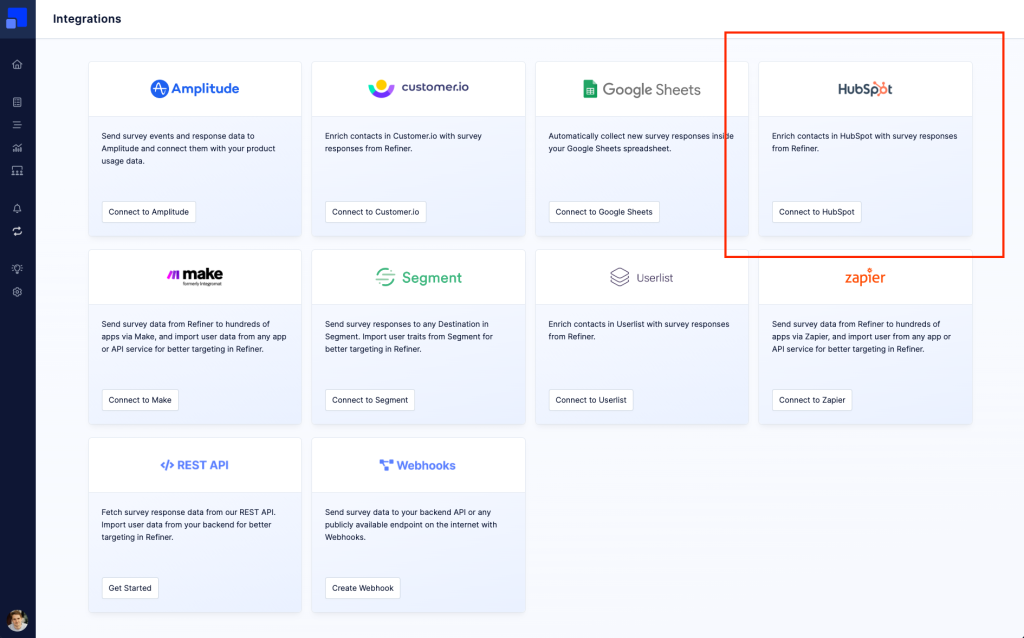
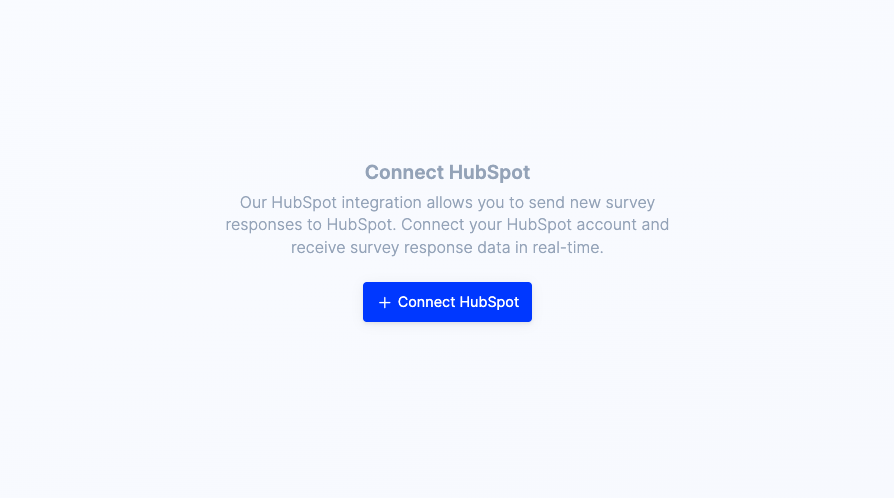
Setting up data synchronization from Refiner to HubSpot is simple. To get started, click on “Connect HubSpot” in In the Integrations section of your Refiner environment.
You have the possibility to create multiple data connections to your HubSpot account, which gives you full control over which data fields you want to sync and when exactly this should happen.
Choose a trigger event
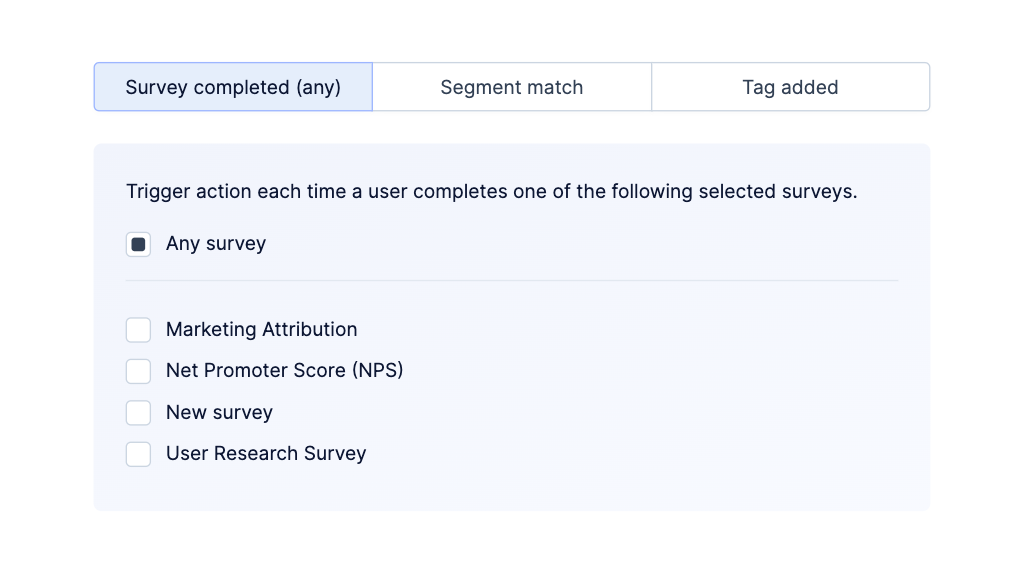
You’ll be prompted to give a name to your data connection and choose a trigger event (Survey completed, User enters segment, Tag added).
Connect your HubSpot account
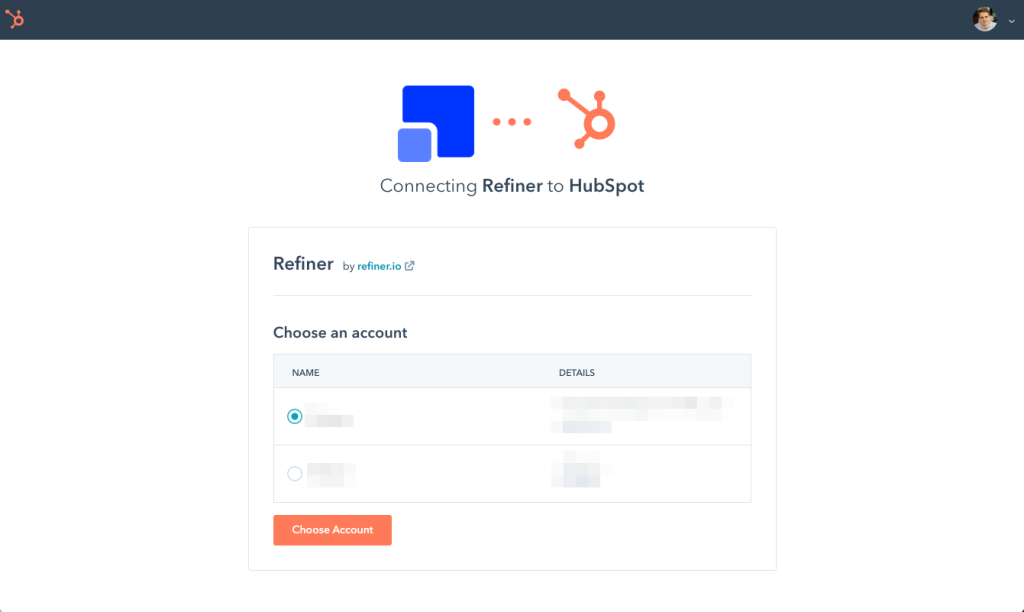
As a next step, you’ll need to connect your HubSpot account. Click on “Connect HubSpot account” and follow the authorization flow.
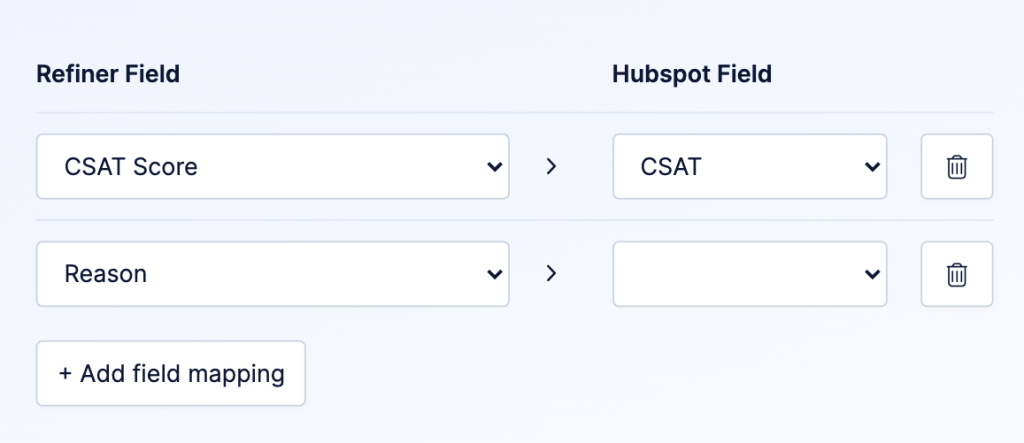
Map data fields
Once done, you’ll be able to map data fields from Refiner to contact properties in Hubspot. The value of each mapped field will be synced from Refiner to your Hubspot contact as soon as the trigger event occurs.
While HubSpot offers many contact properties out of the box, you probably want to add new properties matching your survey questions first. You can add contact properties in HubSpot as described here. Once done, reload the integration page in Refiner to get an updated list in the field mapping section.