Custom Dashboards
Introduction
Custom Dashboards allow you to freely arrange charts that display response data from one or multiple surveys. On this page we’ll describe how you can add and arrange charts, change dashboard settings, and create additional dashboards.
Create dashboard
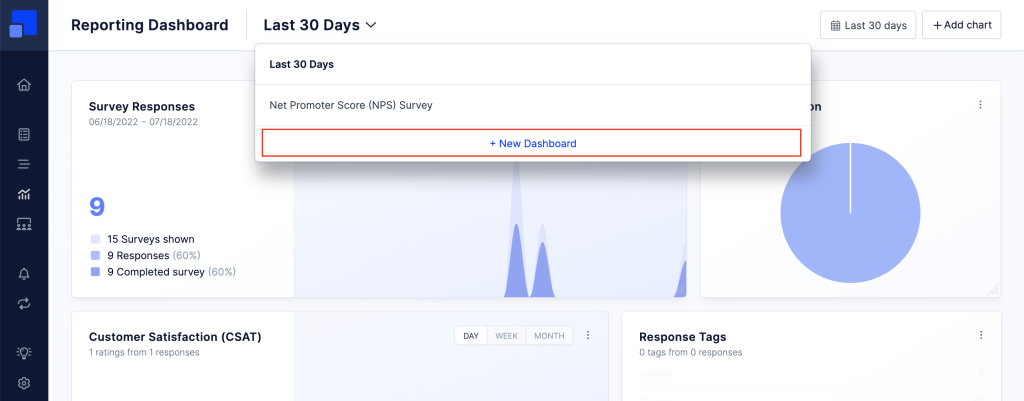
Each environment in Refiner comes with an empty reporting dashboard which is accessible to all team members. You can create additional reporting dashboards for you and your team by clicking on the header of your current dashboard and then selecting “New dashboard”.
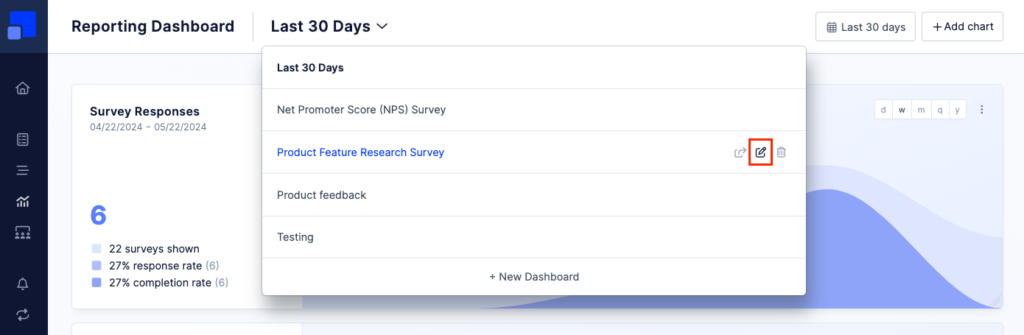
When creating a new dashboard, you’ll be asked to choose a name and a default date range. Both can be changed later on in the dashboard settings.
The dashboard settings can be access in the header menu when hovering over a dashboard name:
Add charts
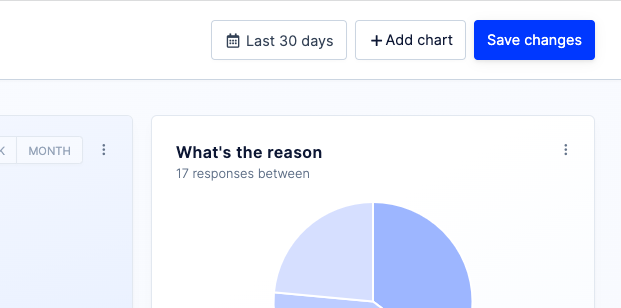
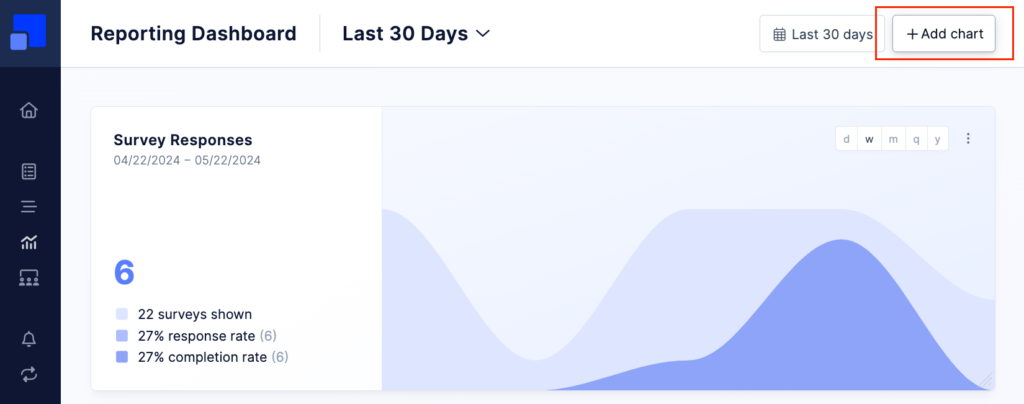
You can freely arrange any number of charts on our dashboard. Simply click on “Add chart” in the top right corner of the dashboard page and follow the wizard. When adding a new chart, you’ll be asked to choose the chart type, the data source and optionally set data filters.
Arrange charts
Once you added a new chart, you can freely position it on your dashboard. Click on the top area of your chart and drag it to the position of your liking. Click and hold in the bottom right corner to resize the chart.

Chart options
Chart settings like data source and data filters can be accessed through the three-dots dropdown in the top right corner of each chart.

Save changes
Whenever you make any changes to your dashboard (add a chart, move a chart, …) you’ll need to save your changes. You’ll see a “Save dashboard” button in the top right corner of the page.